A wood finish does more than change color. It affects how a table handles spills, how a chair feels in the hand, how easily a surface can be repaired, and what the room smells like during and after the work. The best choice is not automatically the product with the greenest label or the hardest film. It is the finish that fits the furniture, the room, and the way the piece will be used.
Use this guide to narrow the options, test them safely, and create a durable result without turning a small refinishing project into an indoor air problem.
Define the job before choosing the finish
Start with the surface and its daily demands. A decorative shelf needs less moisture resistance than a dining table. A child’s desk may need frequent cleaning, while a low-use side table may benefit from a finish that is easy to renew. Identify whether the piece is solid wood, veneer, plywood, or fiberboard before sanding.
Also consider the work area. If the finish must be applied indoors, ventilation and odor become more important. If you can work in a protected outdoor space or detached workshop, you may have more options, but temperature and humidity still need to match the product directions.
Understand the main finish families
- Drying oils: penetrate the wood and create a natural look. They are usually easy to renew, but cure time and water resistance vary.
- Oil-and-wax blends: offer a tactile, low-sheen surface and straightforward spot repair, with performance that depends heavily on the formula.
- Water-based film finishes: often dry quickly, preserve a lighter wood color, and can provide good everyday protection.
- Solvent-based varnishes and lacquers: can produce a tough film but may require stricter ventilation, protective equipment, and disposal practices.
These categories are only a starting point. Products within the same family can have very different ingredients, cure times, and safety instructions.
Read beyond “natural,” “eco,” and “low-VOC”
Marketing terms do not tell the whole story. Review the technical data sheet and safety data sheet when available. Look for recommended use, surface preparation, ventilation, personal protective equipment, drying versus full cure time, cleanup method, and disposal instructions.
“Low-VOC” can be useful information, but it does not guarantee that every ingredient is harmless or that ventilation is unnecessary. Choose the lowest-emitting product that still suits the job, follow the manufacturer’s directions, and keep people and pets away from the work area until the finish has cured as instructed.
Test the complete system on scrap wood
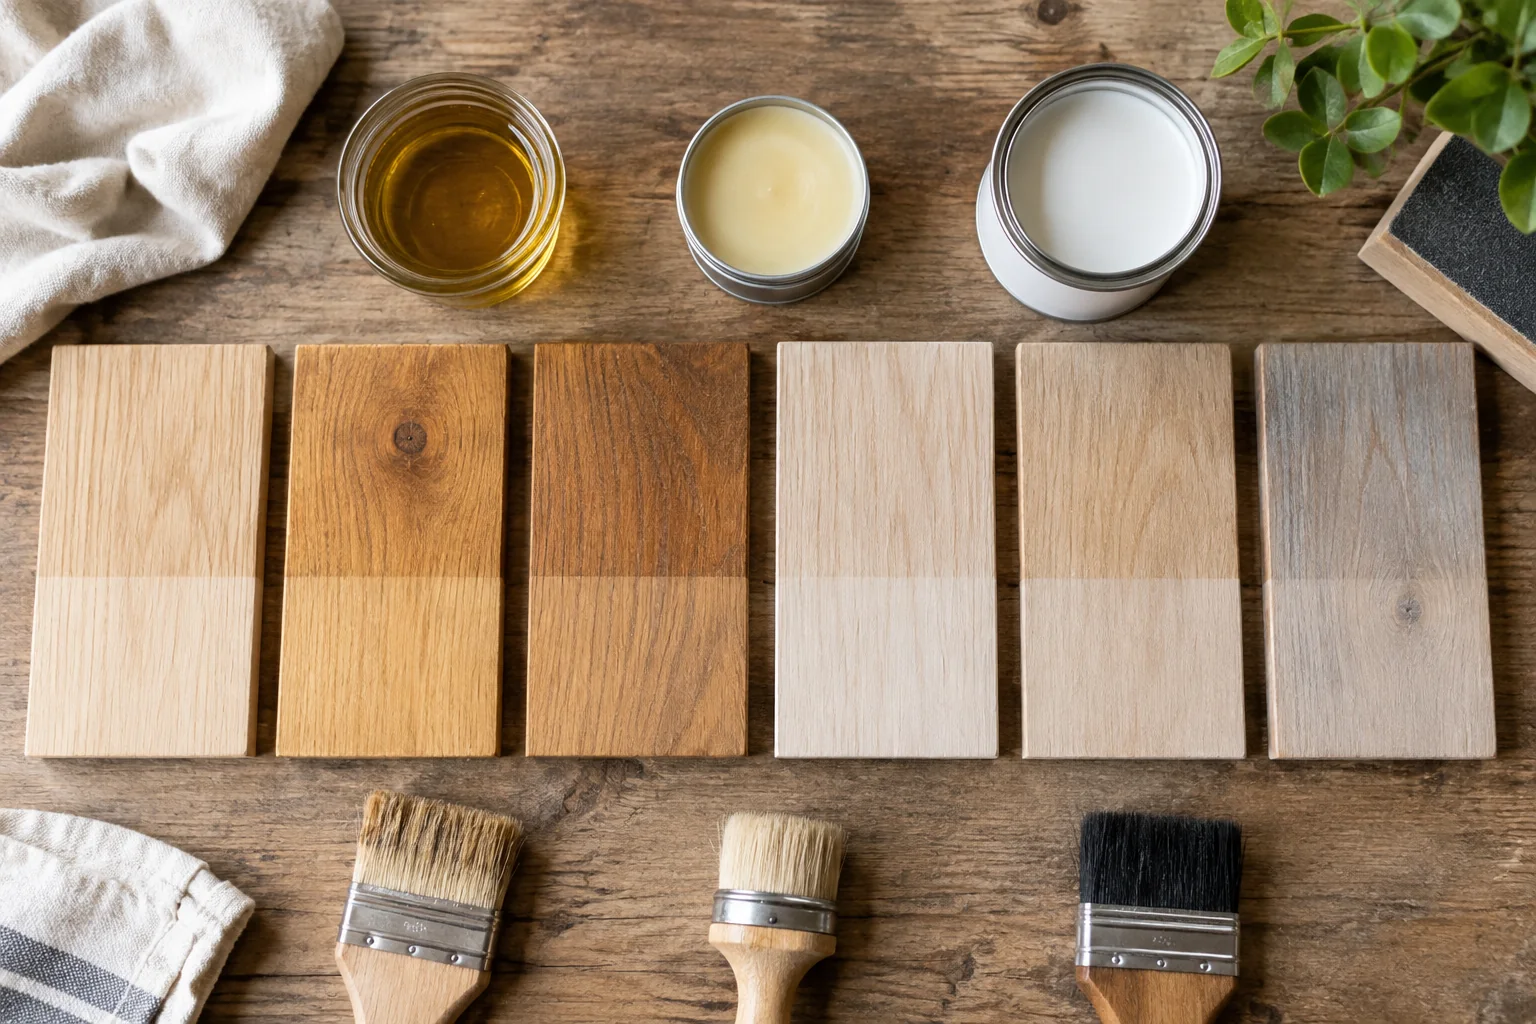
Color, sheen, and grain can change after every coat. Prepare an offcut of the same wood, or test on a hidden area, using the exact sanding sequence and number of coats you plan to use. Label each sample and allow it to cure fully before comparing.
Check the sample in daylight and evening light. Place a drop of water on the cured surface if the manufacturer permits that test, then wipe it away after a short interval. The goal is to learn how the finish looks, feels, and performs before committing to the visible surface.
Prepare the surface and the room safely
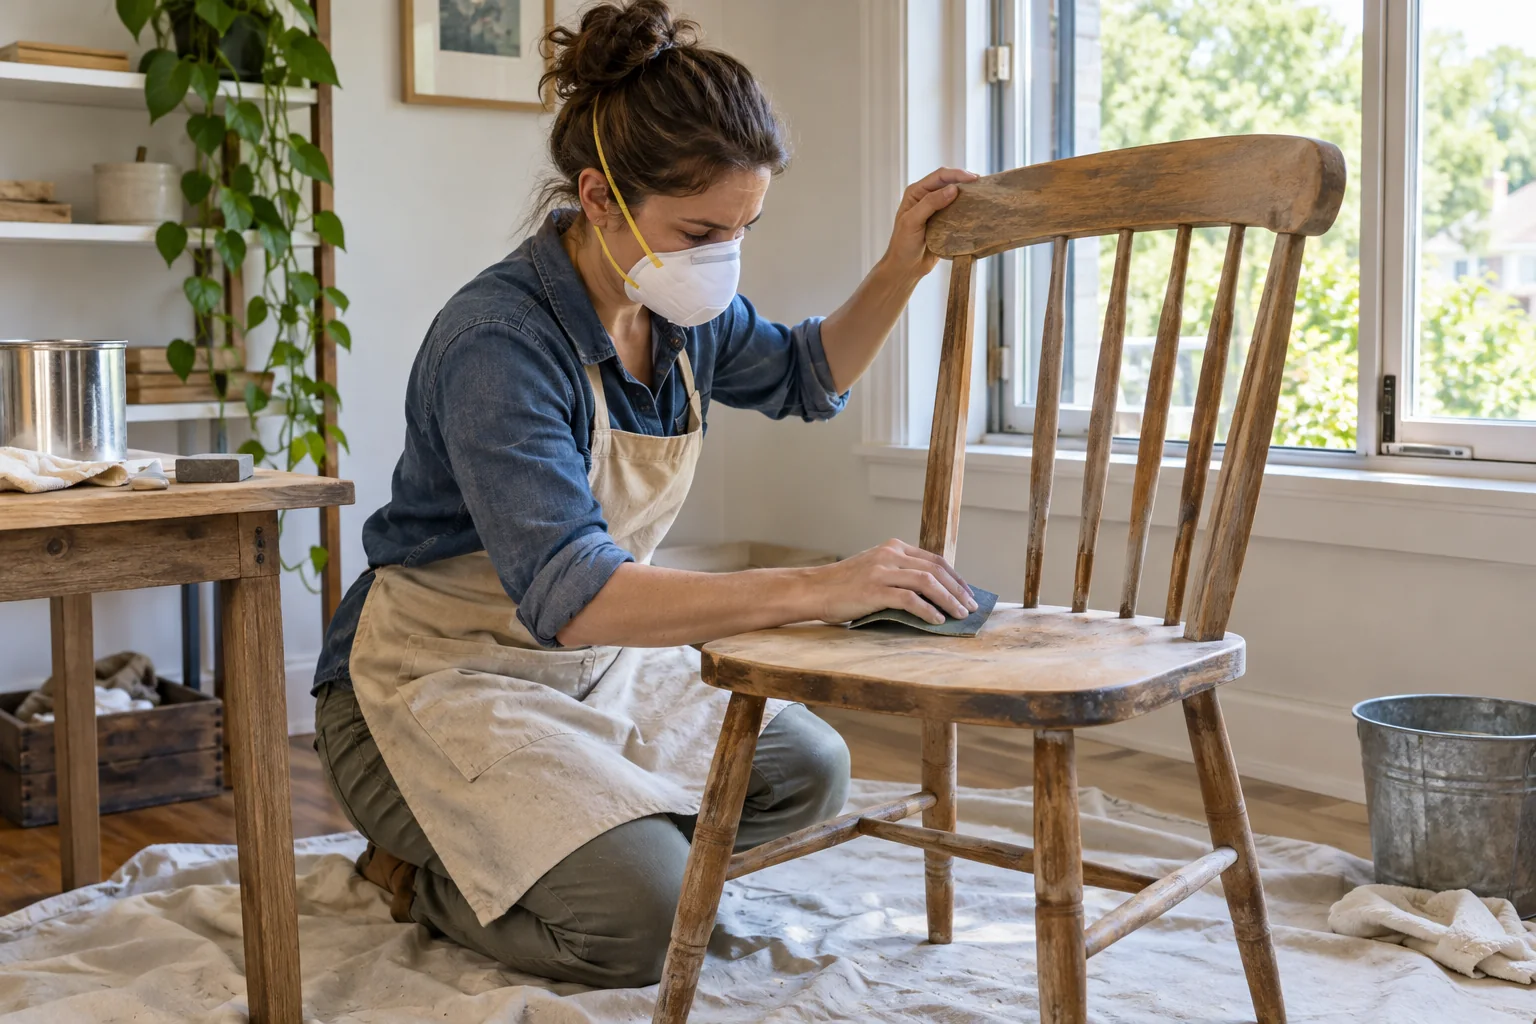
Old painted furniture may contain hazardous materials, especially if its age or history is unknown. Avoid aggressive sanding until you understand what is on the surface. Use dust extraction where practical, wear appropriate protection, and contain dust with a drop cloth.
Open windows and create cross-ventilation without blowing dust onto wet finish. Remove ignition sources when working with flammable products. Keep finishing rags in a safe metal container or follow the product’s disposal directions, because some oil-soaked rags can heat up as they cure.
Apply thin, patient coats
Stir as directed instead of shaking a product that can trap bubbles. Work with the grain, maintain a wet edge, and resist the urge to apply one thick coat. Thin, even coats usually level and cure more predictably. Sand between coats only when the instructions call for it, and remove dust carefully before continuing.
Dry to the touch is not the same as fully cured. A surface can feel ready while remaining vulnerable to water, heat, or pressure. Keep heavy objects, table coverings, and normal cleaning products away until the stated cure period has passed.
Plan for maintenance, not just the first day
Ask how the surface will be cleaned and renewed. A repairable finish that receives occasional care may keep furniture in service longer than a harder coating that is difficult to patch. Save the product name, color, sheen, batch information, and application date so a future touch-up is easier.
Durability comes from the whole system: suitable wood, careful preparation, compatible coats, correct curing, and realistic maintenance. When those pieces align, a lower-emitting option can be both a comfortable choice for the home and a practical choice for the furniture.
Related practical guides
- Reclaimed Wood Furniture: Plan a Safe, Durable Project
- Pallet Wood Furniture for a Patio: What to Check First
Further reading
The U.S. Environmental Protection Agency recommends selecting low-emitting finishes when practical and providing generous ventilation during and after application in its guidance on indoor environmental concerns during remodeling.